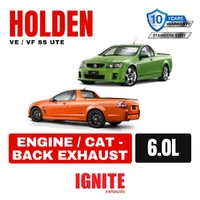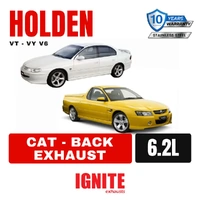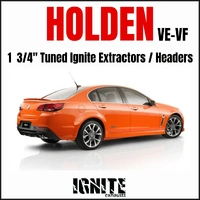
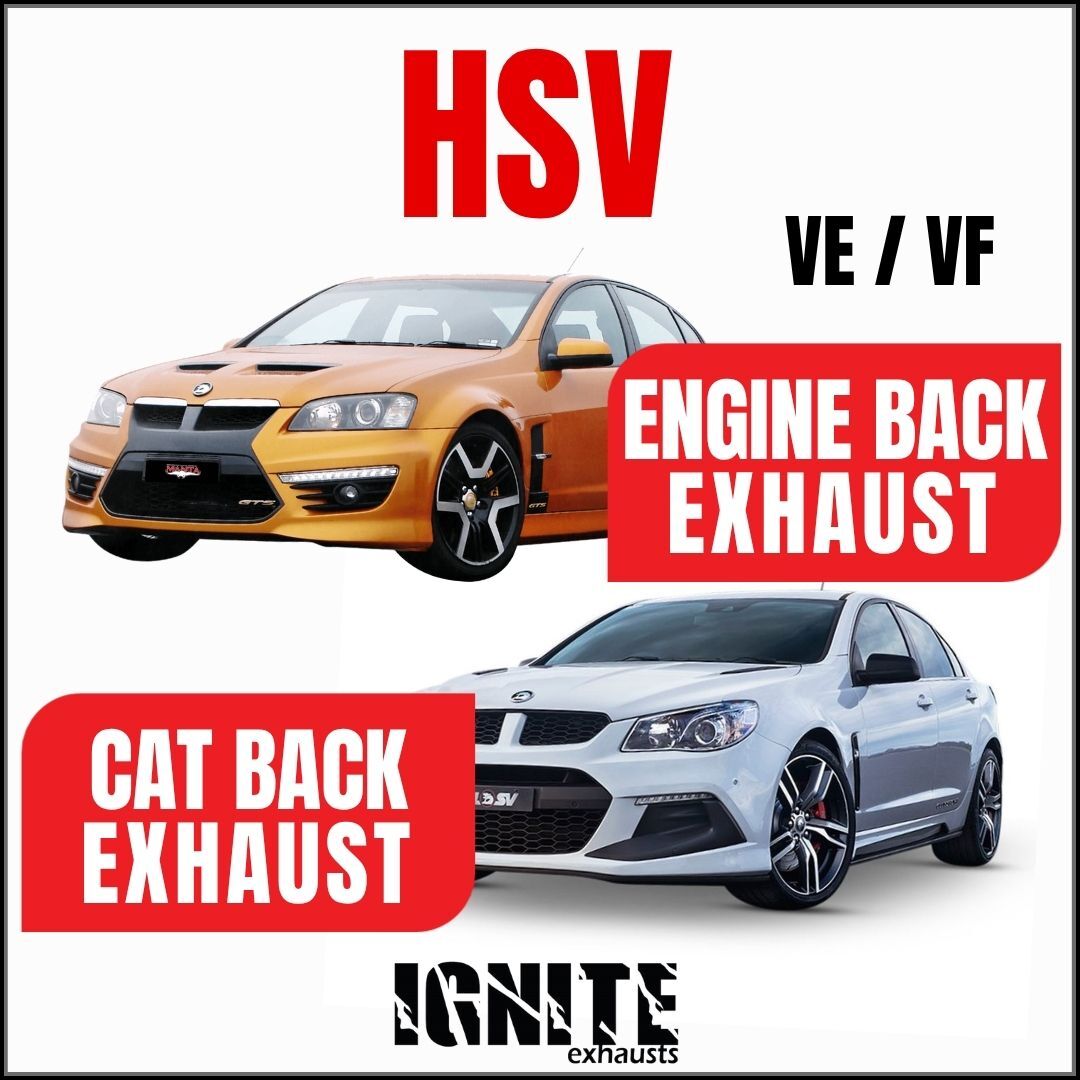
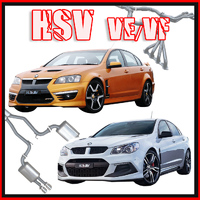
HSV VE/VF 6.0L & 6.2L Sedan Performance Exhaust
2006-2017 HSV E2 E3 ClubSport/GTS & VF Clubsport LS3
SKU code: holdenvesdn_notips
 Make 4 payments of $412.25 over 8 weeks & get it now!
Ignite Exhausts VE/VF 3" and 2.5" engine back and cat back exhaust systems
We provide Australian designed and made upgraded exhaust systems showing great performance gains and a more desirable sound on the Holden/HSV Commodores.
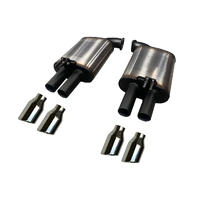
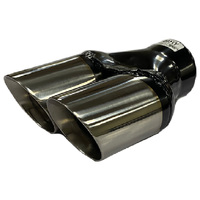
Our systems are CNC mandrel bent using 409 grade stainless steel tubing to ensure maximum durability, and maximum satisfaction with your upgrade! We also use stainless components such as, hi-flow 100cpi catalytic converters, 36" long hotdog resonators and dual outlet oval mufflers to create that deep V8 sound they should have had from the factory.
Our exhausts are easy to install and are supplied with a DIY fitting kit. Note: A tune is required for engine back exhausts.
The exhausts for the VE/VF Holden/HSV Commodores are available in these configurations.
- Engine back 3" (1 ¾" extractors, hi-flow cats, 3" cat back loud or moderate rear mufflers)
- Engine back 2.5" (1 ¾" extractors, hi-flow cats, 3" cat back loud or moderate rear mufflers)
- Cat back 3" (3" cat back loud or moderate rear mufflers)
- Cat back 2.5" (2.5" cat back loud or moderate rear mufflers)
| SKU | holdenvesdn_notips |
| Brand | IGNITE Exhausts |
| Shipping Width | 0.750m |
| Shipping Height | 0.170m |
| Shipping Length | 2.050m |
| Shipping Cubic | 0.261375000m3 |
Be The First To Review This Product!
Help other Ignite Exhausts users shop smarter by writing reviews for products you have purchased.
1. Safety First: Before beginning installation, disconnect the vehicle battery. Welding is required when fitting the exhaust tips.
2. Remove the factory rear mufflers. On some VF models, the bi-modal valve connectors may need to be unplugged prior to removal.
3. Disconnect the secondary O2 sensors before removing the factory centre section. Once disconnected, unbolt and remove the centre section.
4. Cat-Back Only Purchases: If you have purchased the Ignite Cat-Back System, install the new cat-back connector pipes using the factory gaskets and nuts. Once complete, proceed to Step 19. If you have purchased the full exhaust system, continue to Step 5.
5. Unplug the pre-cat O2 sensors. Unbolt and move the steering shaft upward to gain clearance.
6. From the engine bay, remove the engine cover and air intake assembly.
7. Carefully remove the spark plug leads (pull on the metal shield, not the lead itself).
8. Using a 15mm socket, unbolt and remove the dipstick. Note its orientation prior to removal to ensure easier reinstallation later.
9. (Recommended but not required) Remove the spark plugs before unbolting the manifolds to reduce the risk of breakage.
10. Using a 13mm socket, unbolt and remove the factory manifolds, taking care not to shear any bolts.
11. Loosely position the new header gaskets using two manifold boltsone at each endto hold them in place.
12. Before installing the headers, fit the O2 sensor extensions to them. Install the headers from underneath the vehicle, guiding them up into the engine bay and allowing them to hang on the bolts. For the right-hand side, ensure the steering shaft is pushed upwards for additional clearance.
13. Insert the remaining manifold bolts and tighten securely.
14. Reinstall the steering shaft. Connect the O2 extensions to the factory plugs (use extension looms if required).
15. Reinstall the dipstick in the same orientation as removed. Ensure it is fully seated.
16. Refit the spark plugs and spark plug leads.
17. Reinstall the air intake and engine cover.
18. From beneath the vehicle, install the high-flow catalytic converter sections using the supplied 3/8 UNC nuts and bolts (leave finger-tight at this stage). Install the secondary O2 sensors and use extension looms if needed. Secure all wiring looms with cable ties to prevent contact with hot or moving components.
19. With assistance, install the centre section using the supplied hardware and gaskets. Leave finger-tight until final alignment.
20. Loosely fit the double-prong muffler hangers to the new mufflers. Install the mufflers using the supplied nuts, bolts, and gaskets.
21. Tighten the entire exhaust system from front to rear, ensuring proper clearance throughout.
22. With the rear muffler hangers still loose, adjust the mufflers to the desired position, then tighten the hangers. For HSV models that do not require exhaust tips, proceed to Step 24.
23. With assistance, install the chrome exhaust tips. Each tip requires a small stitch weld on both sides to secure its position.
24. Perform a final visual inspection to confirm all components have adequate clearance and all wiring looms are safely tied away from heat and moving parts.
25. Once satisfied, start the vehicle and check all joints for exhaust leaks.
26. Vehicles fitted with the full exhaust system will require an ECU tune.
27. Enjoy your IGNITE Exhaust System!
MANDREL BENT EXHAUST
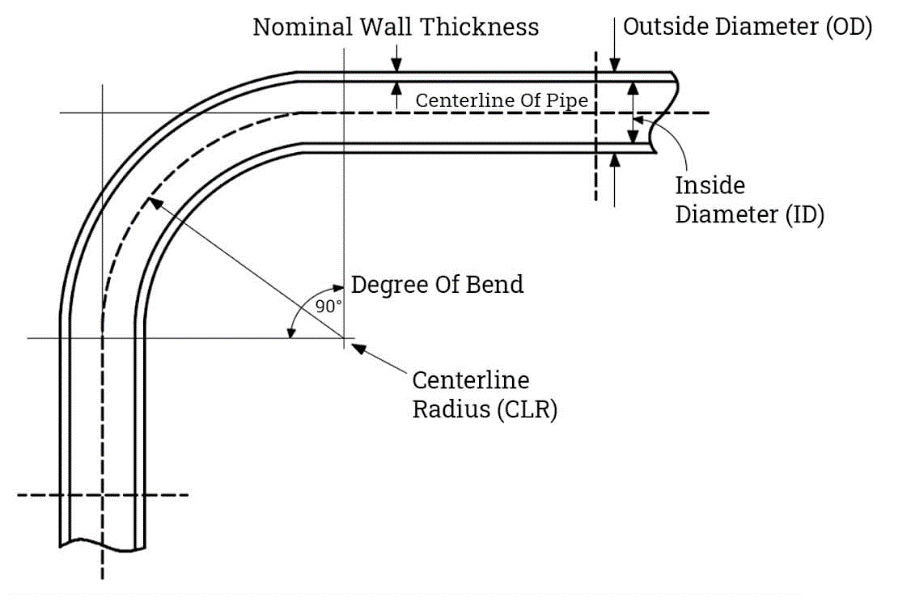
IGNITE Exhausts consists of mandrel bent piping to determine optimum performance, flow and sound out of your exhaust system. Mandrel bending involves a mandrel placed in the tube during bending which maintains the shape and diameter of the tube. It reduces the risks of restricted exhaust gases often found in cheaper bending methods like press bending.
AUSTRALIAN DESIGNED AND MADE
With over 50 years combined experience the Ignite Exhausts team have spent countless hours on the design and testing of our 3 inch mandrel bent 4x4 exhaust systems. Proudly Australian made here in Sunbury, Victoria, we strive to offer an affordable product direct to the public.
WHICH OPTION DO I NEED?
IGNITE Exhausts pride themselves in offering an extensive number of exhaust options to suit every buyer.
High flow catalytic converter – Required for legal road use, designed to have less restriction compared to stock catalytic converters, high flow design has very little restriction on the exhaust.
No catalytic converter – For off-road use only, no restriction in the exhaust (complete straight through exhaust).
Pipe only – No mufflers (straight pipe) our loud option.
Resonator – Moderate sound option, the design of our stainless steel resonator helps reduce drone whilst still providing an aggressive exhaust note.
Muffler – Our quietest option, perfect for towing. The straight through design of our stainless steel mufflers insure no restriction to the exhaust whilst keeping the note minimal.
Diff pipe – No mufflers (straight pipe) our loudest option finishing before the vehicles differential.
ALUMINISED MILD STEEL
Aluminised mild steel commonly used in exhaust systems for its strength and heat resistance is a great option for when choosing your exhaust. It can withstand exposure to corrosive elements without rusting easily thanks to its aluminium coating.
It’s a cost effective option compared to other similar materials making it a popular choice in various industries. If you’re looking for a heat resistant, durable, cost effective exhaust an aluminised mild steel exhaust is your option.
409 GRADE STAINLESS STEEL
The premium when it comes to an exhaust system is a 409 grade stainless steel exhaust. Unlike other materials such as 304 stainless steel that is very susceptible to cracking, 409 grade is a very heat resistant and more versatile metal making it a great choice when looking for exhaust performance.
Other materials like 304 stainless steel stress under the constant heat transfer in an exhaust, which most commonly results in cracking. 304 has traditionally been chosen for show cars, but on everyday road use its failure rate is high. That's why every Ignite stainless system, including our polished finish, is built from 409 grade.
For a durable, corrosion and heat resistant exhaust it’s no mystery why a 409 stainless steel is used on most factory produced vehicles making it the best option when it comes to a 4x4 exhaust.
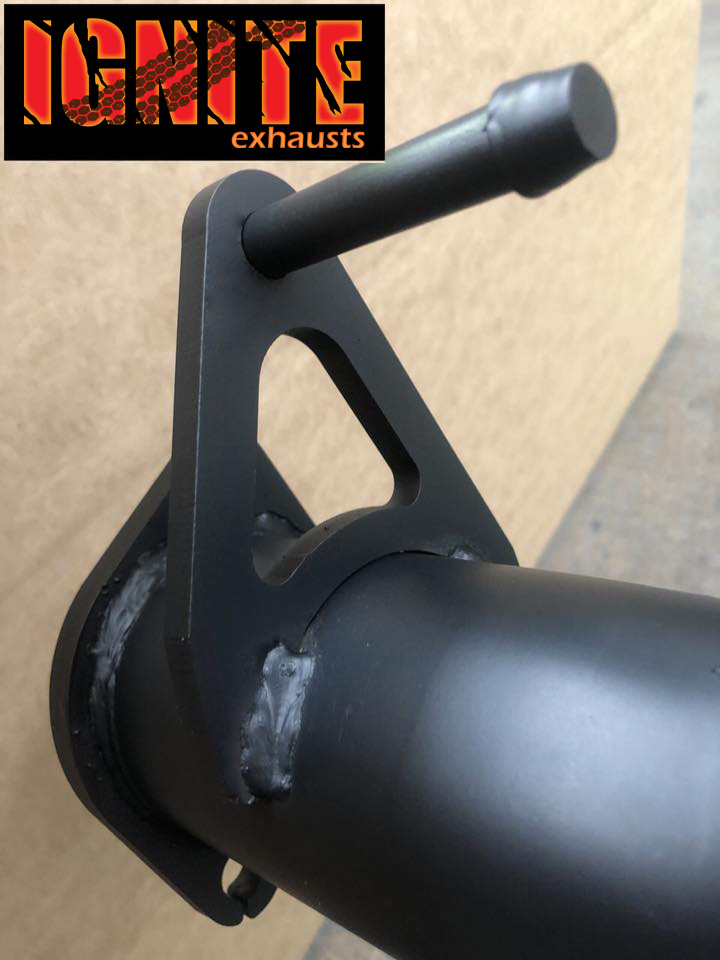
LASER CUT FLANGES & HANGERS
IGNITE Exhausts have spared no time when it comes to the custom flanges & hangers used on their exhaust systems giving it the upper edge when it comes to the strength of the exhaust.
Our competitors most often use the typical steel-rod hanger bracket creating a vast weak spot over the bracket, which in some instances can cause a crack or failure in the exhaust.
The precise cut of our hangers ensure that the bracket fits perfectly and securely. This accuracy helps maintain the structural integrity of the exhaust system.
BOLT ON INSTALLATION
IGNITE Exhausts are designed and tested to follow the same layout as the factory exhaust. A priority of ours is to ensure the ease of bolting on our exhaust systems which utilise the factory rubber mounts.
Detailed fitting instructions available at the click of a button as well as a full fitting kit supplied makes the job a breeze. Nuts, bolts, clamps, gaskets etc all supplied in fitting kit.
Note: When fitting allow time to check over the exhaust making sure everything is aligned and then tighten all bolts and nuts from the front to back of the vehicle. If you have any fitting/alignment issues, please call us as soon as possible to avoid damaging the exhaust system.
WARRANTY
Our 409 stainless steel and aluminised steel IGNITE Exhausts are backed by a 10 year warranty and 2 year warranty respectively. Should the item you receive be faulty in any way, please contact us and we’ll make sure the correct process is followed so the issue can be addressed as quickly as possible for you.
***Disclaimer: Please consider aftermarket accessories such as long-range fuel tanks, upgraded suspension and larger spare tyres before ordering your exhaust. To confirm your vehicle is compatible contact us via message/email or on 1300 12 13 12.***